My last attempt on this did work but didn't have a video so here you go.
|
A Chemical Reaction is a process in which one or more substances change into one or more new substances.
Chemical Equation: An empirical representation of a reaction can be arranged Ex. NaCI + KBr---->KCI + NaB Read: Sodium Chloride reacts with Potassium Bromide to produce Potassium Chloride and Sodium Bromide Looking Beyond- Here is the equation for today's reaction you don't have to use this exact amount grams for the reaction to occur, but the percentages of these chemicals are needed so as long a you dialectal the percentages into 26% and 74% We will be performing a reaction in this experiment were we will be making and igniting a bottle rocket. A bottle rocket made very similar to a rocket engine with an additional skewer attacked to the side to hold it up. It is simply made to propel itself up with a sudden burst of thrust from a lit fuel of rocket fuel or black powder. Materials-
 Launch prep
Looking Inwards- With my field test rocket motor I went outside with the others we each launched our own most didn't leave the ground, but might went up about ten feet from the ground a success. My one mistake was that I didn't record it I had a friend do that but they lost the video so here is a video of what basically happened Looking outwards-
I did this lab by myself mostly Andrew made the rocket fuel and Jenessa helped me with the hole for the fuse. I appreciate both them for their help. Looking Forward I want to continue doing rocket projects they are fun and exciting. For this lab were learning that we can use pennies to make simple batteries. The batteries have a voltage and put out amps. The voltage is the energy stored the battery and the amps is the flow of electrons. In our battery, we manipulate the flow of electrons to charge LED's. A battery needs to have 3 things in this order to work; an anode a cathode and an electrolyte.
Materials-
What Happened- Process- First we sanded down one side of the pennies so that the Zinc was exposed
Then we cut small pieces of cardboard about the size of the pennies. We took the cardboard and soaked it in vinegar We then stacked the materials a piece of tin foil at the bottom then the copper sided of a pennie , then a piece of the cardboard we repeated that four times will a pennie on the very top. Making sure the cardboard was not touching another peice of cardboard we put the leads of the LED's on the top of the pennie stake and the tin foil bottom. If done correctly the LED would turn on which it did for our group. We also wrapped the basic battery with electrical tape. Success 
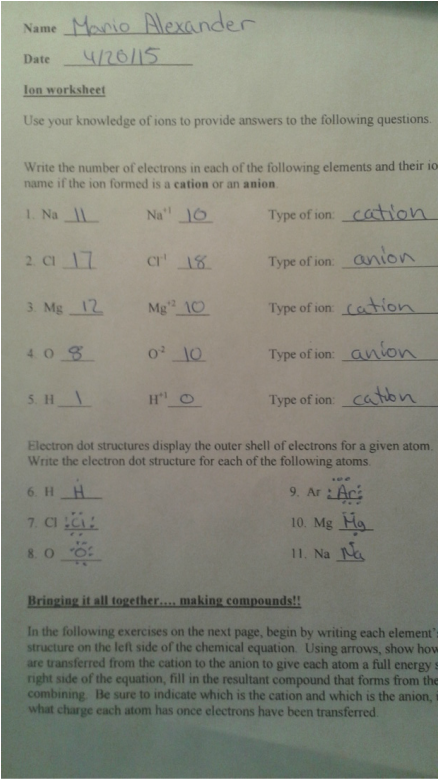
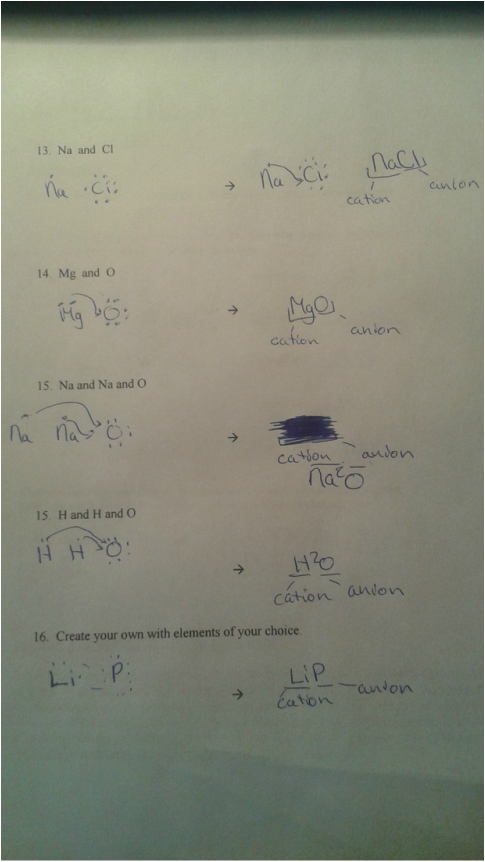
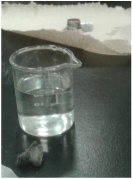
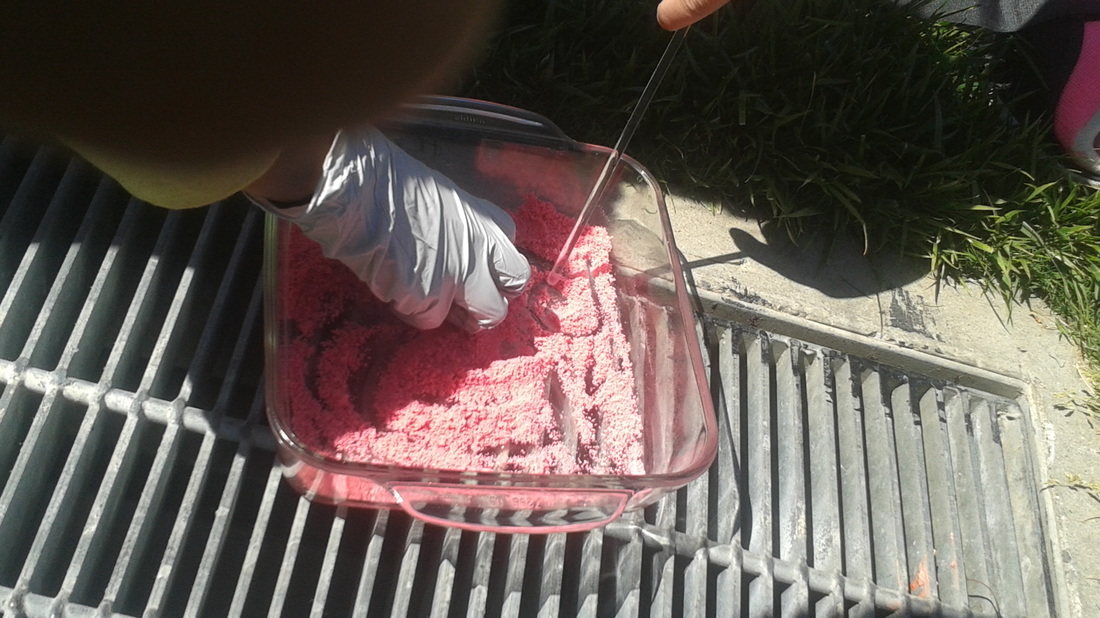
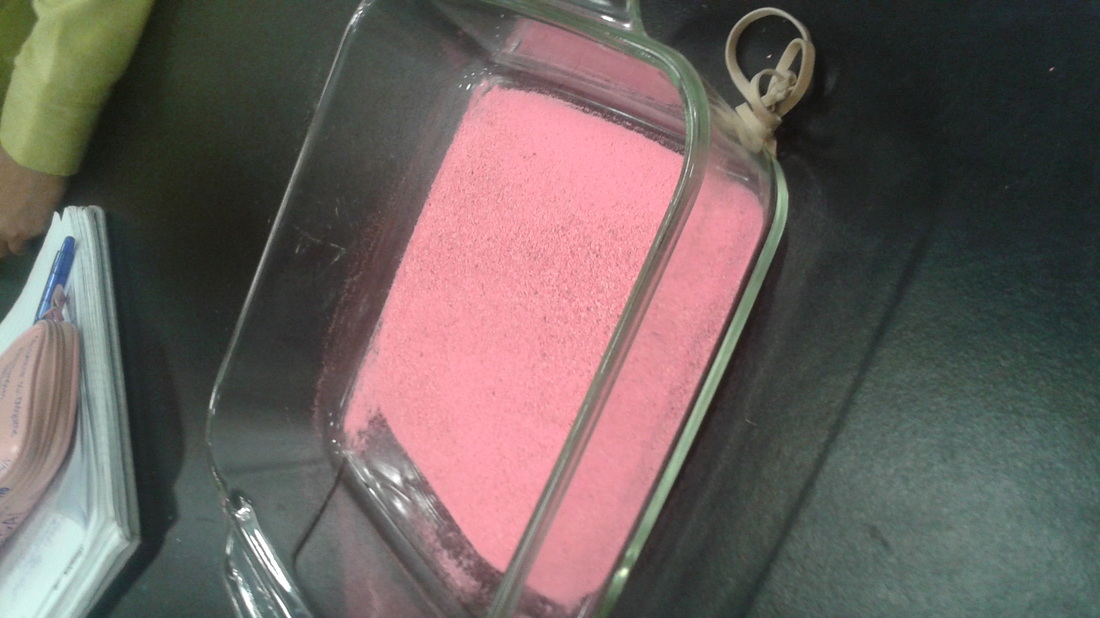
For this experiment we made hydrophobic sand. Hydrophobic sand repels water due to its high solubility. To make hydrophobic sand is made by coating regular sand in a silicon based hydrophobic spray and mixed. This needs to be repeated 2 to 3 times. Then it will be left to dry after that if you pour water on it it will not get damp from absorbing the water. Key Concepts: Ionic Compounds - Form between Metals and Non-Metals, exchange of electrons creates oppositely charged ions, strong bounds, hydrophilic Covalent Compounds - Form between Non-Metals and Non-Metals, sharing of electrons, weaker bonds, hydrophobic. Cations - Positively charged ions Anions - Negatively charged ions Hydrophobic - Will not dissolve in water Hydrophilic - Dissolves in water Polarity - Difference of charge Solubility - How much something will dissolve something Materials:
When I did this with my group we dropped the sand in a beaker of water then pulled it out it was still dry. We also tried to dip some water on some sand, the water only stayed on top. The experiment was fun and I hope we can do something similar soon. Looking Beyond-
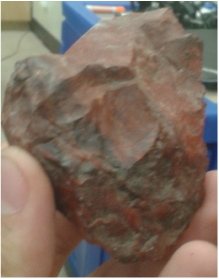
Water does not mix with oil because oil has a negative polarity and can not be dissolved by water. By mixing the silicon based hydrophobic spray with the sand repetitively the sand was covered by a oily hydrophobic water proof outer shell that repels water. Looking Inward- I did get my desired results I wanted. I think the fact that my group worked together well and didn't argue attributed to the result of this lab being a success. Collaboration Looking Outward- I worked with Mia, Anna, and D-Issac. We all worked well together no one complained, everyone I think found the lab interesting. Looking forward- If I was able to do this experiment again I think I could do it better. I would not mind who I would work with. I think I would try to make less and put it at the bottom of an empty bottle with layers of water and sand to see what would happen. I think would like to if I find time. Take aways- I learned there is a more in dept reason oil does not mix with water. Before we left on the break me and Jiapsi showed some freshman how to use the lapidary to make jewelry we did not have to much time to explain but I believe that most of them were really engaged. First we should them the proper way to use the table saw. We had them were a lab coat and goggles so they would not get wet or have shards of rock thrown back at them. We told them that they needed to have the plastic cover over the saw down so nothing would fall into the saw or get cough on it. We had some of them try to carefully cut there bigger rocks to a rough shape of what they wanted. Then with the shaping wheel on the lapidary they started to shape their rocks to the way they wanted it, whether that was squaring it of or rounding it off the edges. I think we helped them to better understand the tools as well as how to keep the equipment in good condition. I had fun helping them. A good friend of mine Jiapisi has been work to better understand how to make jewelry from stones. He has been study up on different kinds of stones he has shown be a couple of interesting rocks such as Rose Quartz, Obsidian, Quartz, Red Jasper and here some are ::
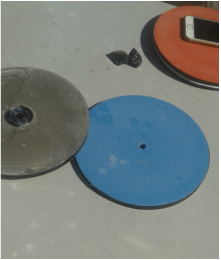
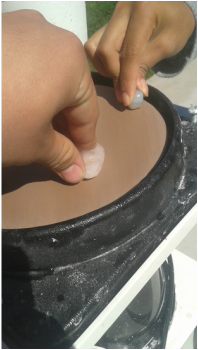
He learned how to use a lapidary machine and when we got one he showed me how to used it too. With a lapidary you are able to shape, smooth, and palish rocks to make jewelry. I then after learning how to use the lapidary machine. The lapidary machine is similar to a grinding wheel except it has the grits on the top not the sides, you are also able to use a lapidary machine to polish stones as well as shaping them. Lapidary machines have different wheels for different tacks on for grinding and shaping others for smoothing and polishing. It has a small dipping cup that needs to constantly cover the wheel with water it needs to always have water. It helps it smooth rocks better and it helps to keep the wheel in a good condition. For the excess water and clay that comes of the stone there is a funnel to another cup you need to make sure does not over flow constantly empty.
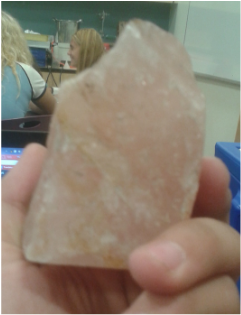
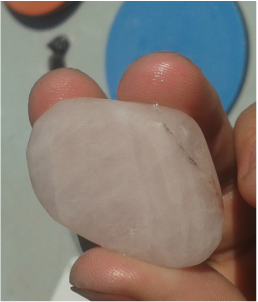
I then found a stone I liked: from the bucket of rocks one of the teachers had found at his new house. The stone was rose quartz, it was to big so using a table saw Jiapsi helped me to cut a piece the size I wanted. From there with the lapidary machine I sanded down the sides and got all the bits of rocks of it that was not Rose Quartz. The day after that I rounded the edges the way I wanted them. After that grueling process I had my stone the way I wanted it and then I got the other wheel for the lapidary meant to sooth out stones. I was difficult because others were still using different wheels for other jobs on the same lapidary so I had to wait until they were done. I still need to palish it now and after that I will make it a necklaces. Its funny most of things I make in this class tend to be necklaces.
|
Mario AlexanderI am a 10th grade Student at High Tech High. Archives
May 2015
Categories |


 RSS Feed
